Why I Love DIY Floral Magic (and How You Will Too)
I fell in love with floral DIY because it turned small shopping trips into big home upgrades and made event prep calm instead of chaotic. I’ll show quick, repeatable tricks — choosing flowers and foliage, fast arranging techniques, clever containers, color and balance, scaling for events, and longevity hacks. These are practical moves you can use today with basic tools.
My goal is to boost your confidence and save money. Expect easy projects, short product recommendations that actually help, and creative ideas like single-stem statements and mixed-vase centerpieces. Read on and you’ll be ready to make a simple arrangement after just one try. Try one project and feel proud.
Foundations: Choosing Flowers, Foliage, and Supplies
Picking the right stems for the situation
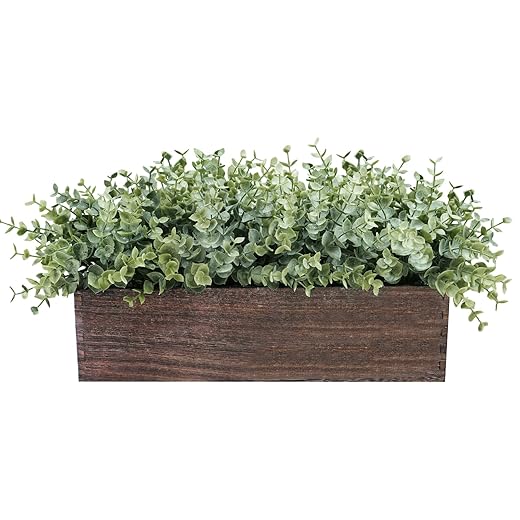
For everyday vases I reach for long-lasting, easy-care flowers: chrysanthemums, alstroemeria, carnations, spray roses and lots of eucalyptus or Italian ruscus for shape. For dinner centerpieces I add a clear focal flower (peony, garden rose, or a bold tulip) plus fillers (waxflower, statice) and a structural green. For large installations I plan repeats of inexpensive mass flowers (gladiolus, stock, baby’s breath) and branchy foliage (salal, willow, laurel) so pieces read from across the room.
Seasonality made simple
Markets change fast: spring = tulips, ranunculus, early roses; late spring = peonies; summer = dahlias, sunflowers; fall = chrysanthemums and rich-toned roses; winter = hollies and berries. If something is cheap at the market, buy more—you’ll get value and consistency. Think: what’s abundant becomes affordable.
How to judge freshness
Look for firm stems, tight or gently opening buds, clean green leaves, and no slimy cut ends. Avoid limp stems, browning edges, or heavy fragrance that indicates overripeness. Give stems a gentle snap test—fresh ones are crisp, not bendy.
Stems that stretch your budget
These reliably fill space without costing much:
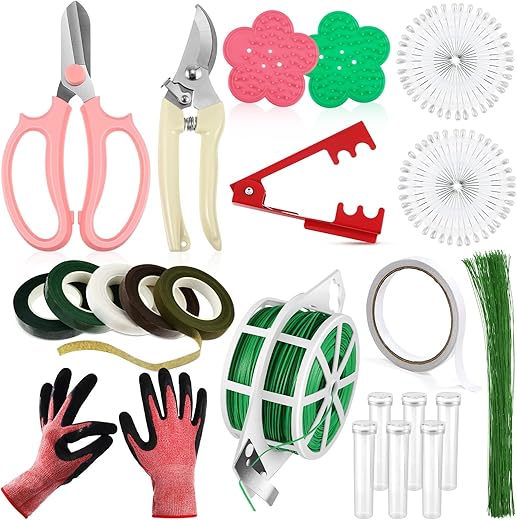
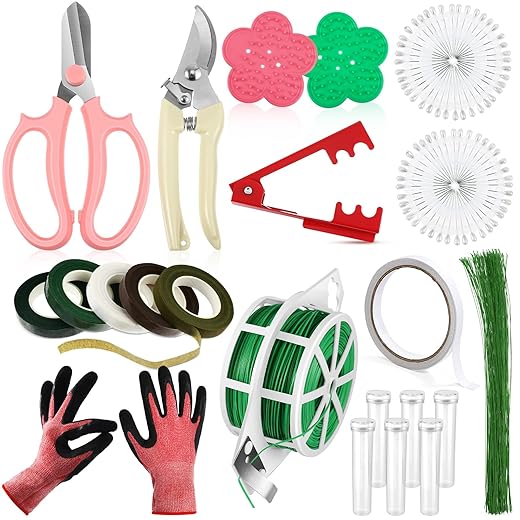
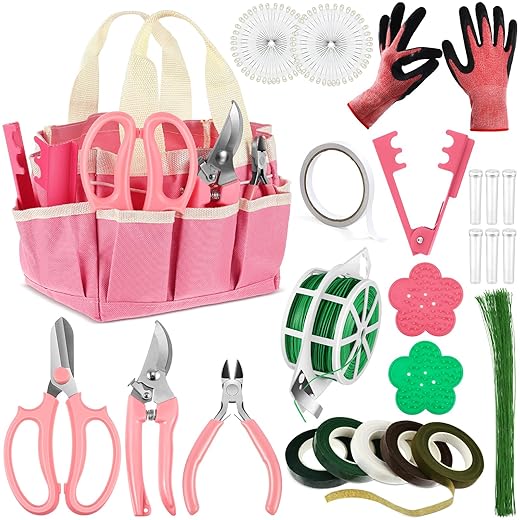
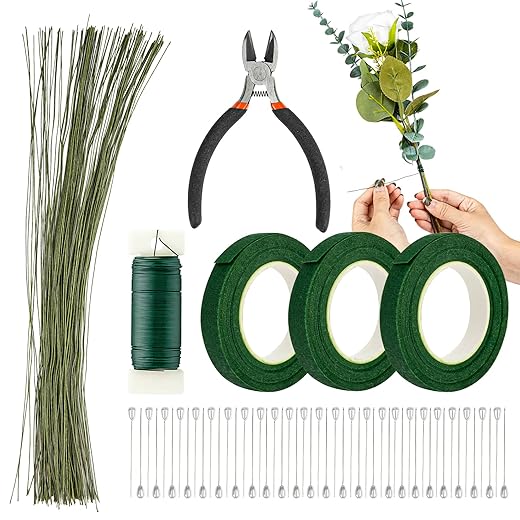
Essential tools and why they matter
Quick weekend project: supermarket mixed-vase
Next up I’ll walk you through quick arranging techniques I actually use every time to get polished results fast.
Quick Arranging Techniques I Rely On
I build arrangements fast by thinking in layers: a sturdy foliage base, a few focal flowers, then supporting blooms and texture. Below are the repeatable moves I use every time — simple, no-jargon steps that get beautiful results.
Build a sturdy base first
Start by stripping lower leaves and creating a green “skeleton” that locks stems in place. Insert long, sturdy greens (eucalyptus, salal) at angles to form a basket-like frame. This holds every other stem where you want it and hides mechanics naturally.
Instant grids and makeshift frogs
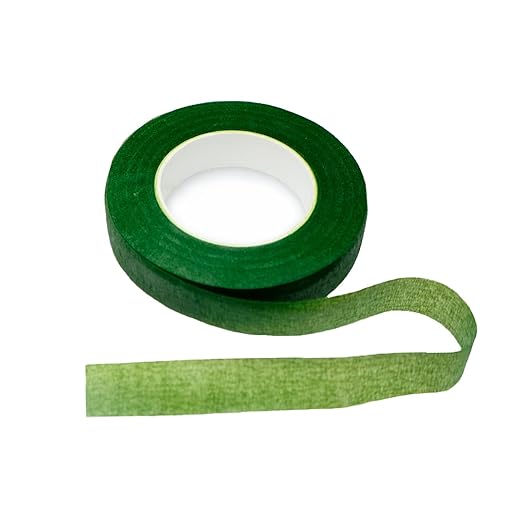
A grid at the vase mouth gives instant structure — floral tape, crisscrossed chopsticks, or a snap-off produce mesh all work. For a quick vase-to-frog: stretch clear packing tape across the mouth in a 1″ grid, or jam a few wooden skewers into a dense X pattern to anchor stems.
Three go-to styles (step-by-step)
Casual wild bouquet
- Choose 1–2 focal stems and lots of airy fillers.
- Hold stems loosely, add one green at a time at varying heights.
- Rotate as you add stems so it reads 360°.
- Trim to final height and place in tall jar.
Classic compact arrangement
- Cut stems to similar short lengths (2–3″ above rim).
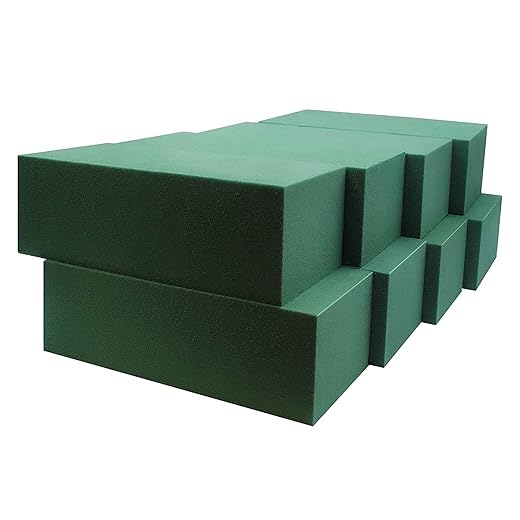
- Tape a tight grid or use a foam block for anchors.
- Place focal flowers evenly, fill gaps with small blooms.
- Tuck in greenery flush with the rim for a clean edge.
Low, wide centerpiece
- Use a shallow dish or bowl.
- Create a tight base with foam or a taped cross.
- Cluster 3–5 focal blooms in the center.
- Surround with lower filler and asymmetrical greens.
Practical shortcuts I use
Next, I’ll show how container choice and clever alternatives cement these techniques and change the whole look.
Vases, Containers, and Clever Alternatives
Match shape, scale, and material to the mood
I pick vessels to amplify the flowers—sleek glass for modern, galvanized tins for farmhouse, and porcelain for formal. As a rule, tall stems want tall, narrow vessels; short, dense blooms read best in squat bowls or compotes. Consider weight: heavy bases stop top-heavy arrangements from tipping at a party.
Prepping unconventional vessels (leakproof & stable)
I love teapots, baskets, and vintage tins. My quick prep steps:
Handy products I actually use
Two quick projects I use again and again
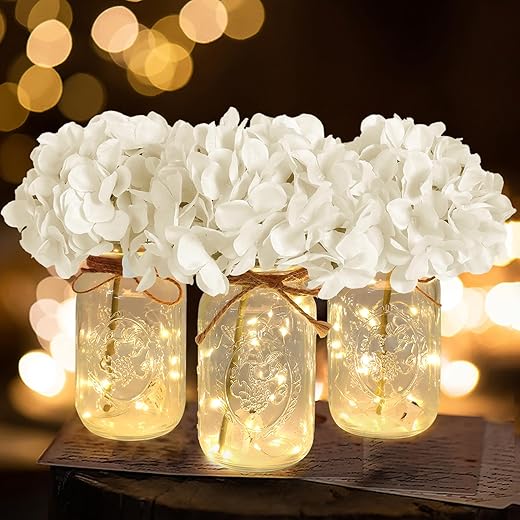
Clustered mason-jar runner
Statement single-variety pedestal display
These swaps and preps let me turn ordinary vessels into event-ready pieces with minimal fuss.
Color, Balance, and Style — How I Create Mood
How I pick colors to set the tone
I think of color like lighting for a room. Calm = soft, neutral palettes; lively = high-contrast pops. I use a simple rule: dominant color ~60%, secondary ~30%, accent ~10%. For calm: ivory, dusty blush, soft greens. For energetic: bright coral, deep navy, chartreuse accents. I often reach for real-world pairings that always work:
The power of negative space and balance
Negative space (visible gaps) lets shapes breathe and directs the eye. I leave space by using fewer stems, trimming lower leaves, or angling foliage outward. Balance isn’t mirror-perfect — I aim for visual weight: cluster a dense bloom on one side and counter it with taller, airy greens on the other. Odd numbers of focal flowers feel more natural.
Mix textures for interest
I combine soft petals (ranunculus, roses) with spiky or linear elements (asparagus fern, bear grass) and a steady filler (waxflower, seeded eucalyptus). Textures give depth even in a monochrome palette. Tactically place one “textural surprise” per arrangement to keep it lively.
Style cues for three events
Short exercise (try this now)
Make two small arrangements with the same flowers. For one, emphasize neutrals and foliage; for the other, boost a single bright color as the 10% accent into 30–40%. Compare the moods — you’ll feel how color shifts atmosphere instantly.
Event-Ready Arrangements: Scaling Up Without Stress
My simple planning system
I start with a tiny sketch — rough shapes and heights, not a masterpiece. From that sketch I choose a repeatable unit (a small posy, a medium centerpiece, or a tall spray). I build one perfect template on a work table: note stem counts, foliage placement, and exact vase. That template becomes my assembly-line blueprint.
Batch like a pro
I batch tasks to save time: condition all flowers first, group by type (focal, secondary, filler), then trim stems to three preset lengths. My order is always: hydrate → trim → group → arrange. When making multiples I assemble in rounds — add structure to every vase, then place focal flowers in each, then fill — so everyone on the team is doing the same step at once.
Transport & on-site care
I move arrangements in shallow trays or custom crates to prevent tipping. For water maintenance I:
Practical delivery checklist
How I label pieces
I use color-coded painter’s tape for zones and small numbered stickers on bases. A photo of each finished piece with its label is saved to my phone so setup is fast.
Packable toolkit
Budget-smart polish
Repeat units, bulk-buy in-season blooms, stretch stems with generous greenery, and borrow or rent uniform vases for a cohesive look without a huge cost. Next we’ll look at longevity tricks for after the event.
Smart Tips for Longevity, Transport, and Budget-Friendly Hacks
Conditioning & water routines
I always recut stems at a 45° angle, strip lower leaves, and place flowers in cool water with commercial food (Chrysal Universal) or my quick DIY: 1 tsp sugar + 2 drops bleach + 1 tsp lemon juice per quart. Change water every 24–48 hours, trim stems each change, and keep arrangements out of direct sun or drafts. To revive limp blooms: re-cut stems under water, submerge heads for 30 minutes (especially tulips), or give roses a brief warm soak and then cold water to rehydrate.
Transport and temperature care
Secure vases in shallow trays with non-slip liners; use ice packs around (not touching stems) inside a soft cooler like a Coleman soft cooler for longer drives. Keep vehicles cool—aim for 35–50°F for most flowers—and avoid trunks or hot trunks on sunny days. Stack boxes no more than two high and stabilize with towels or foam. For single stems, water tubes and floral tape keep things safe and tidy.
Troubleshooting common problems
Budget-friendly hacks & repurposing
Use filler flowers (statice, baby’s breath, limonium) to bulk looks cheaply. Repurpose ceremony pieces—break down altar garlands into small bud vases for cocktail tables, or convert bouquets into cake-side posies. DIY preservative is great in a pinch and saves money over many single-use packets.
Two quick projects I use often:
Next, I’ll wrap up with encouragement to try these tricks at home and at your next event.
You Can Do This: Start Small and Have Fun
I promise arranging gets easier with each tiny experiment. Pick one quick project from this article—maybe a mason jar posy or a simple centerpiece—and make it your practice piece. Adapt the tricks to your colors and home, then share a photo with friends or keep it for reference. My final tip: keep a small sketchbook or photo log so your favorite combinations become effortless repeats. Enjoy the process daily always.