Fast, precise, and perfect for makers who want to level up
I’ve wasted hours wrestling with sticky mats, dull blades, and machines that choke on thicker materials — the real pain is when a project stalls because your gear can’t keep up. I wanted a single cutter that could handle everything from delicate fabric to basswood and speed up small-batch projects without constant tinkering.
That’s why I tried the Cricut Maker 3 & Digital Content Library Bundle. With 10x cutting force, Smart Materials for long matless cuts, and a 30-image starter pack, it actually made my projects cleaner and faster. Quick tip: use the included designs with Smart Materials to crank out custom stickers, wooden ornaments, or fabric appliqués in one sitting — great for gifts or a little side hustle.
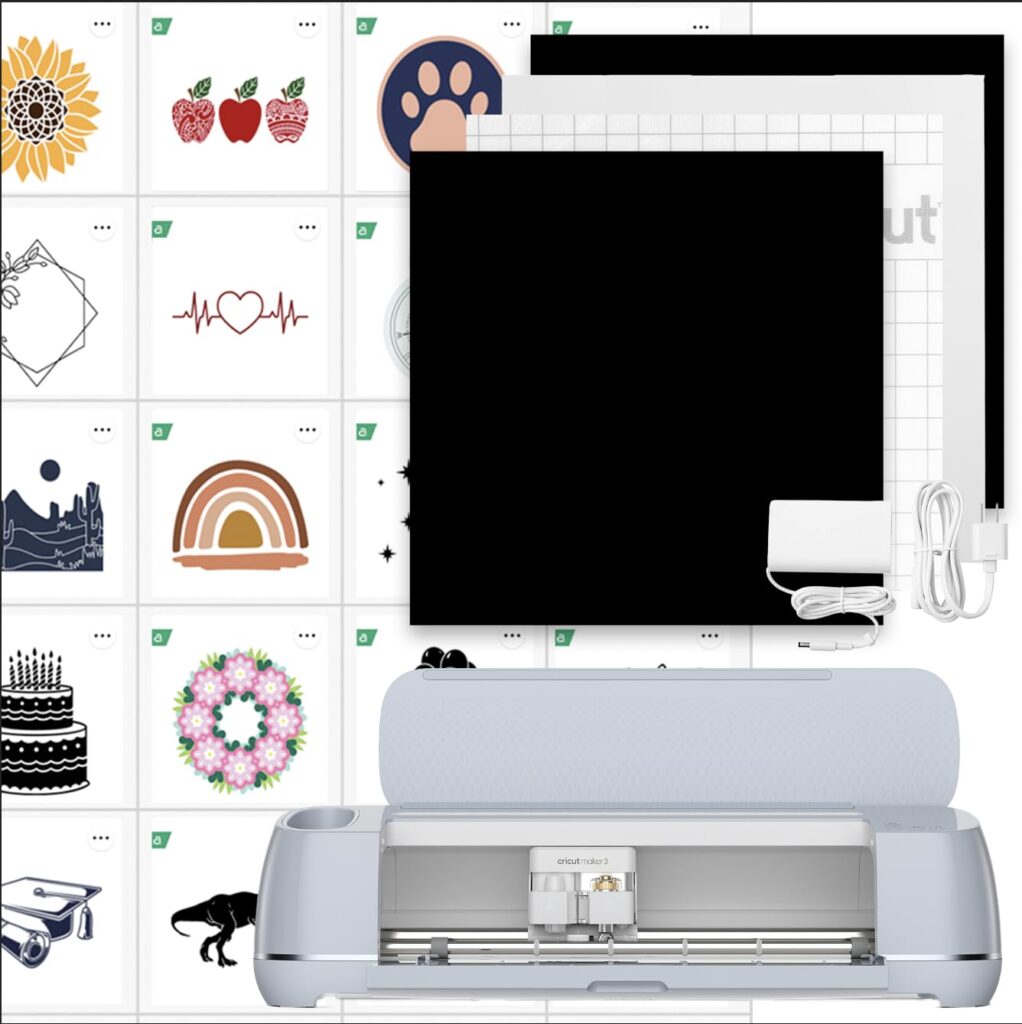
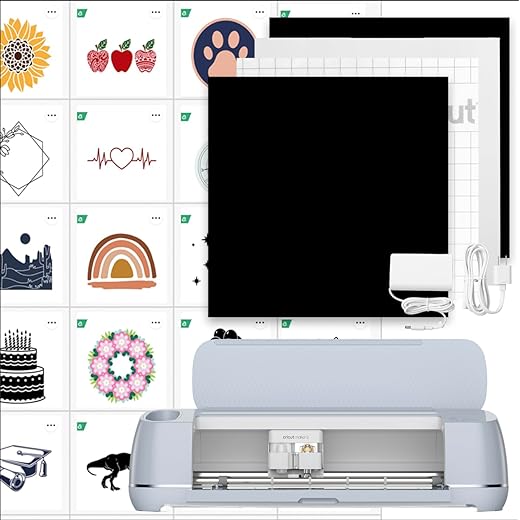
Cricut Maker 3 with 30-Image Library
I see this machine as a powerful all-in-one workshop upgrade — fast, precise, and capable of handling everything from delicate fabric to basswood. While it’s an investment and benefits most with a subscription, it unlocks a huge range of creative projects and small-business tasks.
My honest take: why I reached for this machine
I bought this model because I wanted a single tool that could grow with my crafting — from vinyl decals and fabric appliqués to mock leather tags and engraved gifts. The moment I started cutting with it, I appreciated how much faster and tougher it felt compared with my older cutter. The results weren’t just quicker; they were cleaner and opened up projects I previously avoided because of material limits.
What comes in the bundle (and why it matters)
The package I unboxed included the machine, a Premium Fine-Point Blade and housing, essential cords, a welcome book, 100 ready-to-make project templates, and a 30-image digital bundle that appears in Design Space after registration. That starter content gets you making right away, and the included blade is sturdy enough for day-one projects.
Key features I actually use (and how I use them)
I’ve grouped features by practical use so you can see how they translate to real craft time.
Performance across materials — practical notes
I tested or researched common materials and summarized what I found most useful in a quick reference table.
| Material Type | Typical Tool(s) | Notes from my use |
|---|---|---|
| Vinyl / Adhesive vinyl | Fine-point blade | Great for stickers and decals; cuts are clean and weed easily |
| Fabric (woven or knits) | Rotary blade | Rotary blade shines — no stabilizer needed on many fabrics |
| Cardstock & paper | Fine-point / Deep-point | Precise edges; adjust pressure for thick matboard |
| Leather & faux leather | Knife blade / Deep-point | Excellent results but requires specific blade and settings |
| Balsa / basswood | Knife blade | Good for thin wood projects; take it slow and use multiple passes |
Workflow & software: Design Space from a user’s view
Design Space is central to how I actually use the machine. It guides you toward the correct tool and material settings, and the Learning Plan is handy when I try something new.
I will say the app isn’t perfect — sometimes connectivity or syncing takes a minute. But once the project is in the queue the machine runs it cleanly.


Setting up and a first simple project I recommend
Setup was straightforward: plug in, follow the on-screen prompts in Design Space, register the machine and claim the included images. My first project was a vinyl welcome sign — quick, satisfying, and it showcased the cutter’s speed.
Creative tips and project ideas I love
After a few weeks with it, I started using the machine for multi-material mixed-media projects and small-batch products. Here are a few ideas that worked well for me:
Maintenance, upgrades, and accessories worth considering
Keeping the machine running smoothly is mostly about basic care and picking the right blades.
A few limitations I learned to work around
There are a couple of realistic caveats to know before buying. Repairs or replacement parts can be tricky to source quickly in some regions; I solved that by keeping spare blades and a mat on hand. Also, while the subscription unlocks a massive library, you can create plenty without it — but I subscribe because the convenience and range are worth it for my output.
Final thoughts — who should buy this
I recommend this machine if you’re serious about growing a hobby into a craft business or you want one machine that adapts to lots of materials and project types. If you only need occasional sticker prints or very basic cutting, a simpler machine might be more cost-effective. For me, the flexibility, power, and the creative lift it provides made the investment worthwhile.


I still reach for it whenever I need a precise cut or when I plan a weekend project. It’s become the hub of my creative workspace — from quick gift tags to multi-material commissions.
FAQ
No — you can design and upload your own files and use included starter projects without a subscription. However, a Cricut Access subscription unlocks thousands of ready-to-make projects, fonts, and images that save time and inspire ideas. If you plan to rely on ready-made designs often, the subscription pays for itself.
Smart Materials let you cut long, continuous designs without a mat (single cuts up to 12 ft and repeated cuts up to 75 ft). That’s a game-changer for banners, long decals, and production runs because you don’t need to reposition or use multiple mats.
Yes — paired with the rotary blade, it cuts many fabrics cleanly without a stabilizer. For slippery or very stretchy materials, test a small piece and consider backing with a temporary stabilizer.
Start with the Rotary Blade for fabrics and the Knife Blade for thicker materials like basswood or leather. A Scoring Wheel makes folded-card projects much cleaner. Those three unlock a broad range of projects quickly.
Absolutely. Its speed, precision, and compatibility with printable sticker papers make it a solid choice for small-batch sticker production. Matless Smart Materials also simplify longer runs and repeatability.
First, restart your device and machine, ensure the app is updated, and confirm Bluetooth permissions are enabled on your device. If connection still fails, try USB connection and update firmware through Design Space.
With supervision, it’s a great classroom tool. The blades and tools are sharp, so I recommend adult supervision during use and keeping raw blades locked away. The app offers many kid-friendly starter projects that teach design basics.
Yes — a layered vinyl welcome sign or a set of personalized gift tags are perfect. They’re quick, require few tools, and let you practice weeding, mat registration, and simple design edits in Design Space.