Make Custom Vinyl Stickers in 6 Easy Steps
I’ll walk you step-by-step through my simple, practical six-step process to design, cut, and apply custom vinyl stickers at home. You’ll make stickers for crafts, gifts, labels, and small runs with confidence today with a hobby cutter, vinyl, and laminate.
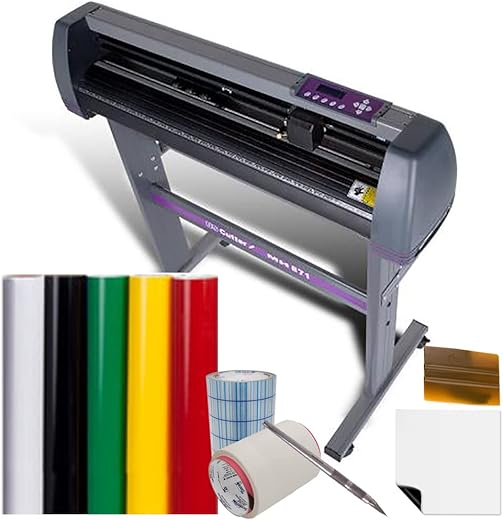
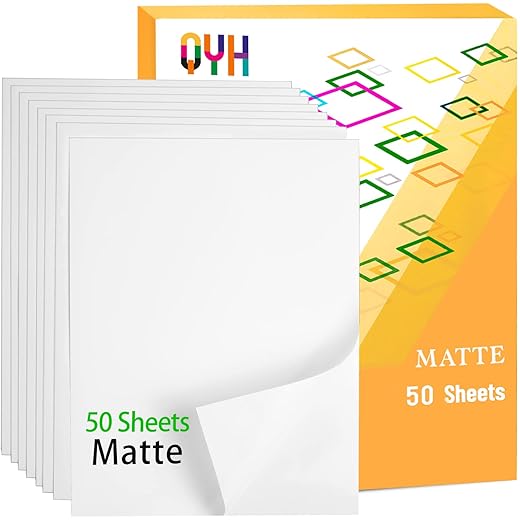
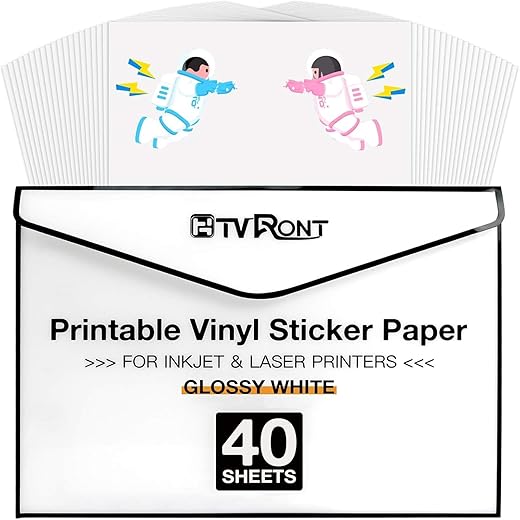
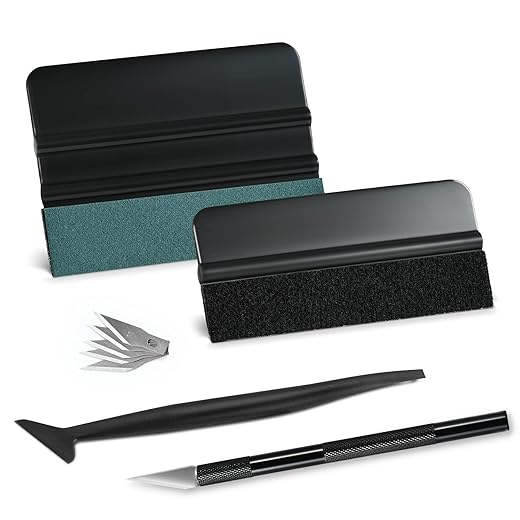
What You’ll Need

Step 1: Plan Your Design
Want stickers that look pro? Start like I do — with a solid plan.Decide what the sticker will be used for, where it will live, and how big it needs to be. I sketch rough layouts, pick a color palette, and note any fine details that might not cut cleanly.
Prepare artwork rules in advance:
Make a quick paper mockup to check scale and placement before moving to digital production.
Step 2: Create or Import Your Artwork
Can a beginner make jaw-dropping sticker art? Absolutely — here’s how I do it.Open your design app — Inkscape, Adobe Illustrator, or Cricut Design Space — and create or import artwork. I prefer vectors because they scale cleanly and give precise cut paths, but rasterize photos at high resolution when needed.
Simplify shapes, expand strokes, and convert text to paths so nothing shifts while cutting. For multi-color stickers, separate layers and plan a white underbase if printing on clear vinyl. Add a thin bleed (1–2 mm) around artwork to avoid white edges.
Step 3: Prepare Materials and Cut Settings
The right settings are everything — get these wrong and your stickers fail.Choose the vinyl type first — I pick removable, permanent, glossy, or printable based on the project. Match the cutter or printer settings next and set blade depth, speed, and pressure conservatively.
Do a test cut on scrap material. For kiss cuts, lower blade and pressure; for die cuts, cut through. For printing, let ink cure fully, then laminate for UV protection and waterproofing. Ensure registration marks are visible and the material is firmly stuck to the cutting mat without bubbles.
Step 4: Cut and Weed Your Stickers
Weeding is where beginners trip up — but I treat it like a mindful craft.Load the material carefully, aligning registration marks and securing the sheet to the mat. Do a small test cut on the scrap area and watch the machine — stop it immediately if you see a miscut.
Weed away excess vinyl by removing background pieces with the weeder and tweezers; use low-tack tape to lift tiny islands. Warm the vinyl slightly with my hands or a hairdryer if adhesive lifts so it peels cleaner. Apply transfer tape and squeegee firmly, burnishing thoroughly. Trim sheets into smaller batches and store finished stickers flat in sleeves to prevent curling.

Step 5: Apply and Finish
Want stickers that last? Sealing and correct application make all the difference.Position the sticker on a clean, dry surface — I use a lint-free cloth to remove dust first. Use transfer tape to pick up and move the sticker without stretching.
Lightly peel the backing and align corners; I line up one corner, tack it, then lay the rest down. Squeegee from center outward to push out air and prevent bubbles. For rounded surfaces, stretch the tape slightly and apply gentle heat with a hair dryer to help the vinyl conform.
Slowly remove transfer tape at a low angle. To increase durability, finish with a clear laminate sheet or thin coats of spray sealant; avoid drips and let each coat dry.
Step 6: Tips for Selling, Gifting, and Troubleshooting
Want to turn stickers into income or gifts? I’ll show easy tweaks that boost appeal.Do a quality check on every sticker before packaging — I look for missed cuts, dust, or lamination bubbles.
Create simple backing cards and group stickers into themed sets. I price by material cost plus time and offer small-fee customization. Batch-cut to save time and keep spare setting notes for each product.
Seal sheets in clear sleeves — I include stiff cardboard to prevent bending during shipping.
You’re Ready to Make Stickers
You’re ready: by planning, designing, cutting, and finishing carefully I make professional-looking vinyl stickers at home. Try a small batch, tweak settings, and build confidence — soon I’ll be making stickers for gifts, shops, or side income. Share your results!