Ever wondered what stories hide on quiet paths beyond the guidebooks? This guide invites curious travelers to explore lesser-known trails with practical, down-to-earth tips.
You’ll find ready-to-use itineraries, clear navigation and gear advice, and easy methods for talking to locals. I’ll also give balanced comparisons for on-trail choices—especially nutrition: portable shakes vs snacks compared by protein, sugar, taste, and price per serving.
Readable, informal, and focused on usefulness, this guide ends with a concise buying guide to help you pick what fits your trail and budget. Bring curiosity, common sense, and good shoes.
Narrow to 2–3 options, then research safety and access (next).
Research safety and access—what to check
Look for these concrete facts before committing:
Permits or entry fees required; caravan or timed-entry windows.
Seasonal closures (wildfire season, spring mud, storm windows).
Cell coverage maps and nearest emergency services (ranger station, county sheriff).
Road access and parking rules—some “trails” start on rough 4×4 tracks.
Must-Have
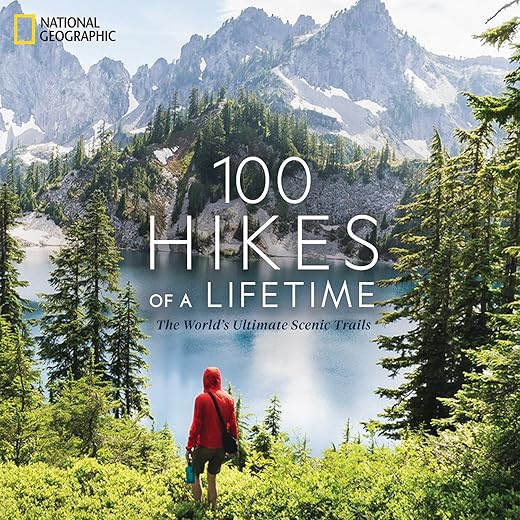
100 Hikes of a Lifetime Scenic Trails Guide
Top bucket-list hikes with stunning photos
A globe‑spanning hiking bucket list with 100 routes for all levels, packed with National Geographic photography and practical tips for planning and wildlife spotting. Ideal if you want inspiration and reliable route info to plan unforgettable day hikes or multi‑week treks.
Elevation gain and how concentrated it is (1,500 ft over 2 miles vs 1,500 ft over 8 miles).
Surface (slick rock, scree, bogs), technical moves (scrambling, exposed ridgelines).
Remoteness: is it single-track with few footprints or a well-used loop?Real-world tip: a 6-mile route with 2,000 ft ascent on talus felt harder than an 8-mile forest loop with the same gain.
Easy-to-use sources
Official park or forest service pages for closures and permits.
Trail apps: AllTrails, Gaia GPS, Trailforks for maps and recent photos.
Community forums and trip reports: local Facebook groups, Reddit r/ hiking, and regional blogs.
Call the ranger station if anything feels unclear.
Quick trip-suitability and contingency checklists
Minimum suitability check:
Distance and elevation match my recent training?
Route marked and reported in the last 6 months?
Access road suitable for my vehicle?
Contingency essentials:
Turn-back time or bailout points noted.
Emergency contact/ETA left with someone.
Extra water, headlamp, and a basic repair kit.
Next up: how to draw stories out of local people and turn those tips into richer, safer trail experiences.
2
Talk to Locals: Finding the Stories Behind the Trail
Where stories live: cafés, markets, and visitor centers
Small talk in the right place turns into gold. Try a morning cafe, market stall, or the park visitor center—people who work locally often share directions, seasonal tips, and the legends that don’t make guidebooks. Open with a compliment (about the food, view, or shop), then ask one simple question: “Is there a place around here people tell stories about?” That invitation is non-threatening and often produces names, dates, and a recommended person to ask next.
Quick language basics and polite phrases
A few local words smooth the way: hello, thank you, “Can I take a photo?” and “Where is the trailhead?” Use a phrasebook for short, correct lines and pronunciation—people notice the effort and respond warmly.
Best Travel Companion
Lonely Planet Italian Phrasebook and Dictionary
Handy travel phrases and quick-reference dictionary
A pocket-friendly phrasebook with essential Italian phrases, pronunciation help, and a 3,500‑word two‑way dictionary to handle everyday and emergency travel situations. Perfect for travelers who want confidence ordering food, asking directions, and connecting with locals.
Ask concrete, specific questions—these give actionable intel and help separate myth from guidance:
“Which path do locals use to reach X?”
“Are there seasonal hazards I should know about?”
“Is this site considered sacred? Are there rules for visiting?”
“Who else should I ask for more history?”
Folklore vs. safety: how to read both
Legends add color but don’t replace safety facts. Treat a tale about a “guardian rock” as cultural context—then verify the practical bits (unstable rock, steep drop) with a ranger or recent trip reports. If multiple people mention a hazard, trust it; if only one person mentions it, cross-check.
Etiquette: photos, sacred spaces, and events
Respect beats curiosity every time. Quick rules:
Always ask before photographing people or rituals.
Leave offerings and altars untouched; step back and wait if a ceremony’s happening.
Dress and behave modestly at sacred sites; follow posted rules.
Bargaining and respectful behavior
In markets, light bargaining is often okay—start about 20–30% below the asking price, smile, and be prepared to walk away. Never haggle over entry to community events or religious fees; pay the stated amount.
Verify and triangulate
Don’t rely on one voice. Cross-check with:
Visitor center staff or rangers.
Two or three different locals (shopkeepers, drivers, guides).
Recent online trip reports or social feeds for up-to-date conditions.
A patient, curious approach usually leads to richer encounters—and safer, more authentic trails.
3
Navigation, Gear, and Responsible Travel
Paper vs. digital maps: pros and cons
Paper maps never run out of battery and give a big-picture view—think USGS topo sheets or National Geographic trail maps. Digital apps (Gaia GPS, AllTrails, Maps.Me) add live tracking, offline tiles, and route sharing. Best practice: use both. Carry a folded paper map of the immediate area and a charged phone with offline maps downloaded.
Navigation backups to bring
Phone with offline maps and a protective case
Power bank or solar charger
Compass (and basic know-how to use it)
Waterproof paper map
Lightweight vs. comfort-focused packing
If you’re moving fast on day hikes, favor lightweight: Osprey Exos-style packs, minimal clothing layers, and a compact shelter for emergencies. For overnight trips, shift toward comfort: a sturdier pack (Osprey Atmos), a warmer quilt or sleeping bag, and a thicker sleeping pad (Therm-a-Rest NeoAir vs. an insulated foam pad).
Best for Durability
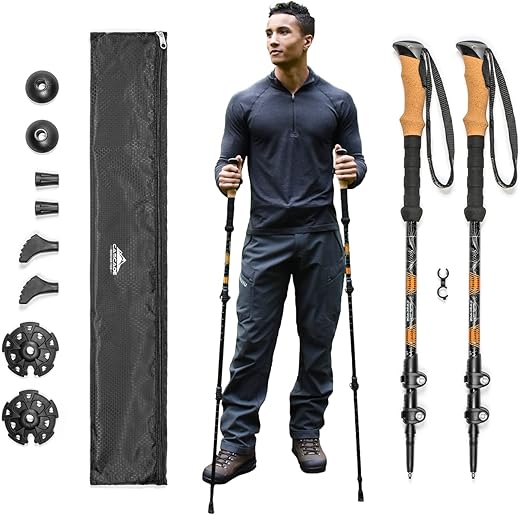
Cascade Mountain Tech Lightweight Aluminum Trekking Poles
Lightweight, durable trekking poles made from aircraft‑grade 6061 aluminum with a quick‑lock adjust from 26″–54″, cork grips and extended EVA down grips for comfort and versatility. Choose these if you want sturdy, packable poles with a full tip kit for year‑round trail use.
Basic first-aid kit (blister care, bandages, antiseptic)
Headlamp + spare batteries
Emergency bivy or space blanket
Small multi-tool and duct tape wrap
Firestarter (waterproof matches or lighter)
Whistle and mirror for signaling
Water filter/tablets (Sawyer Mini, Katadyn BeFree)
Responsible travel & sustainable gear choices
Choose durable gear you can repair: look for brands with replaceable parts and good warranties. Prefer recycled fabrics and PFC-free treatments when possible. Rent or buy used for big-ticket items (tents, GPS). On the trail, follow Leave No Trace: pack out trash, camp on durable surfaces, respect wildlife, and honor cultural sites and local rules.
Finding local guides
Local guides save time and support communities. Ask visitor centers for certified guides, check guide associations, or read recent reviews. A half-day guided walk can reveal hidden lore and reduce environmental impact by keeping groups on sustainable routes.
Day-hike vs. overnight checklist (quick)
Day: water (2L+), snack, map/phone, sun protection, basic first aid, light rain jacket.
Pack smart, respect places, and you’ll stay safe without overbuying. Up next: practical itineraries that use these choices in real-world day and overnight routes — plus quick picks for on-trail nutrition.
4
Sample Practical Itineraries for Curious Travelers
Day Hike: The Legend Sprint
Pacing: steady but conversational — stop for story points and photos; average 3–4 km/h.
Estimated time: 3–6 hours (8–12 km depending on terrain).
Difficulty markers: well-marked singletrack, modest elevation (<500m), one exposed ridge.
Water/resupply: carry 1.5–2 L; no resupply on most day routes.
Transport/access: park at trailhead or take a local shuttle; note parking fees.
Contingency actions: turn back at worsening weather or when pace drops; cache a spare layer in your car.
Half-Day Loop: Quick Lore Circuit
Pacing: brisk loop with frequent interpretive stops; include side-trails to viewpoints.
Estimated time: 2–4 hours.
Difficulty markers: mixed terrain, short steep sections, some roots/rocks.
Water/resupply: 1 L minimum; snacks only.
Transport/access: often starts near town — good for combining with a café visit.
Contingency actions: shorten loop by taking the marked cut-through; use a local bus stop as bail-out.
Overnight Trek: The Two-Day Tale
Pacing: day-one steady, day-two early start for views or sunrise.
Estimated time: 14–20 hours total over two days.
Difficulty markers: sustained climbs, exposed campsites, river crossings.
Water/resupply: plan for 2–3 L/day; identify springs or stream crossings in advance and carry a Sawyer Mini or tablets.
Transport/access: plan drop-off/pickup logistics or loop to a trailhead reachable by public transport.
Contingency actions: carry emergency bivy, extra food for one meal, and know nearest road access for evacuation.
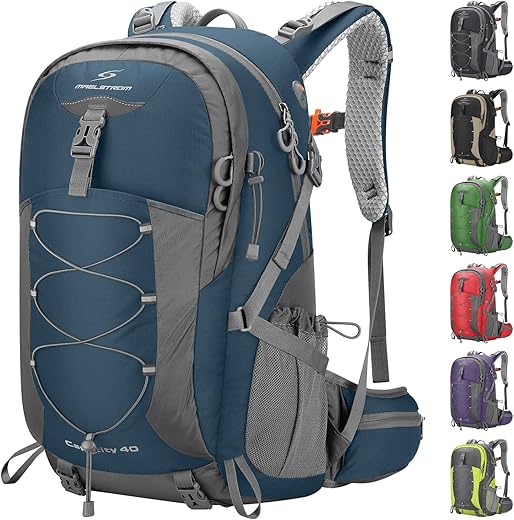
A 40L rip‑stop nylon hiking pack with a ventilated back, padded hip belt, multiple pockets, water‑bladder compatibility and included rain cover to keep gear dry. Great value for day hikes or short trips—pick this for roomy organization, comfort, and weather protection without heavy weight.
Pacing: slow and playful — build in games and snack stops.
Estimated time: 1–3 hours.
Difficulty markers: stroller-friendly or short, flat trails with clear signage.
Water/resupply: plenty of snacks, 1 L per adult + small bottles for kids.
Transport/access: choose loops that start/end near bathrooms and parking.
Contingency actions: pick a nearby café or visitor center for early exit; carry child-friendly first aid and a rain poncho.
Photographic Route: Golden Hour Loop
Pacing: slow, allowing time for composition and tripod setup.
Estimated time: 2–6 hours depending on light and distance.
Difficulty markers: mixed terrain; prioritize viewpoints with unobstructed horizons.
Water/resupply: 1–2 L; easy-to-eat snacks like nuts or a protein bar.
Transport/access: arrive early to snag parking near the best vantage point.
Contingency actions: have alternate viewpoints if clouds obscure sunrise; keep lens-cleaning kit handy.
Quick customization tips: shorten distance if wind or rain rises; swap day-vs-night legs for cooler temperatures; trade heavy gear for extra snacks if fitness is higher. For last-minute tweaks, ask staff at visitor centers, café owners, park rangers, or innkeepers — they often know recent trail conditions and the best storytelling detours.
Next up: on-trail nutrition — what to eat and which portable shakes and snacks earn a spot in your pack.
5
Trail-Ready Nutrition: Comparing Portable Shakes and Snacks
A quick, practical rundown to help you pack smart. Below are the common portable choices compared on the same criteria so you can pick what fits your pace and palate.
What we compare
Protein per serving | Sugar per serving | Taste & texture | Price per serving | Macros & calories | Allergen notes | Convenience (prep time, packability, shelf life)
Ready-to-drink (RTD) protein shakes
Protein: typically 20–30 g
Sugar: often 0–5 g (some flavored varieties higher)
Taste/texture: smooth, reliable — great when you want zero prep
Price: $1.50–$3.00 per bottle
Calories/macros: ~150–350 kcal; usually moderate carbs and fats
Allergens: dairy or plant-based options available
Convenience: instant, lightweight-ish (glassless bottles), shelf-stable months — perfect for a trailhead grab
Powdered protein shakes
Protein: 20–30 g per scoop
Sugar: 0–3 g (depending on sweeteners)
Taste/texture: varies — some gritty if not shaken well; best mixed in a collapsible bottle with a whisk ball
Price: $0.60–$1.50 per serving (cheaper long-term)
Calories/macros: 100–200 kcal per serving (mix-to-preference)
Allergens: whey, casein, pea, soy options
Convenience: needs water + shaker; extremely packable and lightweight for multi-day treks
Meal-replacement sachets
Protein: 15–25 g
Sugar: 2–10 g
Taste/texture: thicker than plain shakes; meant to replace a meal
Price: $2–4 per sachet
Calories/macros: 300–500 kcal, balanced macros
Allergens: check label (nuts, dairy, soy common)
Convenience: minimal prep (stir or shake), good shelf life — ideal when you want a fuller meal without cooking
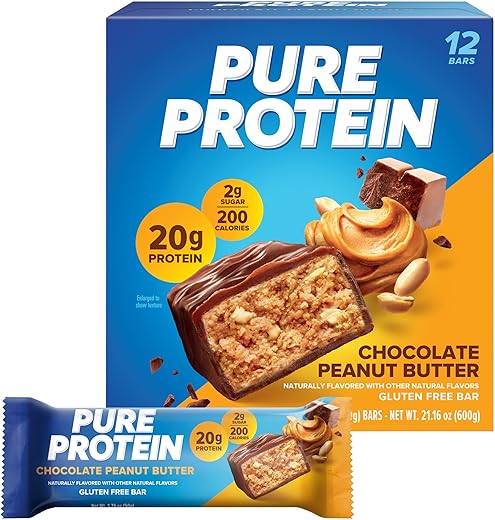
Best for Protein
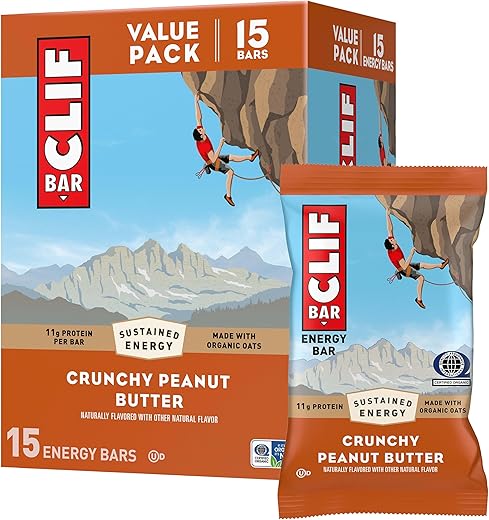
Pure Protein Chocolate Peanut Butter Bars
High protein, low sugar, gluten-free snack
A high‑protein snack delivering 20g protein, just 3g sugar and 190 calories per bar, with a chocolate‑peanut butter flavor that’s gluten‑free and handy for pre‑ or post‑workout fuel. If your priority is protein and low sugar, this is the better pick over carb‑forward energy bars like CLIF.
Combine a protein source with a quick carb (dried fruit) and healthy fat (nuts) to make any snack a balanced mini-meal — think bar + handful of almonds + a piece of fruit. Next up: a compact conclusion with recommended gear and on-trail nutrition buys.
Quick buying guide: gear and on-trail nutrition picks
20 Replies to “Local Legends: Practical Trails for Curious Travelers”
Good roundup, but wondering if the Cascade Mountain Tech Lightweight Aluminum Trekking Poles are really enough for rough alpine terrain? The article lists them as a general pick, but for heavy packs or icy trails I usually prefer carbon or sturdier poles.
Anyone tried both and can share a quick comparison?
Agreed — I switched to carbon for winter trips and noticed the difference on icy descents. Aluminum is fine for day hikes though and they’re less likely to snap from a lateral bend.
Great question, Ethan. We picked the Cascade Mountain Tech poles as a balance of affordability and weight for most hikers featured in the sample itineraries. For technical alpine or very heavy loads, a carbon or high-end alloy pole is a better choice — we should add a note about that to the quick buying guide.
Loved the ‘Talk to Locals’ tip — nothing beats the stories you pick up that way. Also, quick shoutout: I always toss a couple of CLIF Crunchy Peanut Butter Energy Protein Bars and a Pure Protein Chocolate Peanut Butter Bar in my Maelstrom 40L Waterproof Lightweight Hiking Backpack for day-and-a-half trips.
Small tip: pack the CLIF bars in a zip bag if you’re worried about crumbs melting in summer. 😊
Yes! I do the same. Also, if you’re using the Maelstrom 40L, the side pockets are perfect for a couple of bars and a small first-aid kit so you don’t have to dig into the main compartment.
Thanks for the tip, Maya — great idea about the zip bag. We tried to compare bar pros/cons in the ‘Trail-Ready Nutrition’ section but real-world packing hacks like this are super helpful for readers.
I bought the Maelstrom 40L Waterproof Lightweight Hiking Backpack after reading the buying guide and it’s been a champ. Lightweight, good compartments, and surprisingly roomy for overnight gear.
Only gripe: the rain cover could be a touch bigger. Otherwise — thumbs up from me!
Thanks for the real-world feedback, Olivia. Good to hear it performed well. We’ll flag the rain cover size in the buying guide so readers can consider adding a larger emergency liner if they expect heavy downpours.
Okay, long post incoming because I actually tried one of the ‘100 Hikes of a Lifetime Scenic Trails Guide’ suggestions last month and it was gorgeous.
– The guide was spot-on about sunrise viewpoints.
– I used Cascade Mountain Tech Lightweight Aluminum Trekking Poles for a steep section and they saved my knees.
– Pro tip: the Lonely Planet Italian Phrasebook and Dictionary saved me when a local elderly farmer invited me for espresso — I could at least pretend I knew what he was saying 😂
Two less-obvious things the article could mention: trail etiquette with locals (ask before photographing people) and where to stash a small portable shake for hunger spikes (I used a scoop-and-go protein sachet).
Thanks for the detailed report, Liam — love the espresso story. We’ll expand the etiquette and on-trail etiquette tips in the next update. Also adding a note about storing shakes so they don’t spill in backpacks like the Maelstrom 40L.
Loved the emphasis on ‘Talk to Locals’ — learning the stories behind a trail is the whole reason I hike sometimes. The inclusion of the Lonely Planet Italian Phrasebook and Dictionary was a smart call for travelers heading to Italy.
Quick Q: any phrasebook recommendations if I’m heading to non-Italian places? The article hinted at language prep but only named that one.
Great question, Grace. We listed the Italian phrasebook as an example tied to one of the sample itineraries, but for other regions we recommend getting a compact Lonely Planet phrasebook for the specific country (they have many). We’ll add a short subsection listing equivalents for Spanish, French, German, and a note about offline translation apps as backups.
I’ve used the Lonely Planet Spanish and it was handy. If you’re tech-savvy, download offline packs in Google Translate as a backup — saved me when phrasebooks weren’t enough.


Good roundup, but wondering if the Cascade Mountain Tech Lightweight Aluminum Trekking Poles are really enough for rough alpine terrain? The article lists them as a general pick, but for heavy packs or icy trails I usually prefer carbon or sturdier poles.
Anyone tried both and can share a quick comparison?
Agreed — I switched to carbon for winter trips and noticed the difference on icy descents. Aluminum is fine for day hikes though and they’re less likely to snap from a lateral bend.
Great question, Ethan. We picked the Cascade Mountain Tech poles as a balance of affordability and weight for most hikers featured in the sample itineraries. For technical alpine or very heavy loads, a carbon or high-end alloy pole is a better choice — we should add a note about that to the quick buying guide.
Loved the ‘Talk to Locals’ tip — nothing beats the stories you pick up that way. Also, quick shoutout: I always toss a couple of CLIF Crunchy Peanut Butter Energy Protein Bars and a Pure Protein Chocolate Peanut Butter Bar in my Maelstrom 40L Waterproof Lightweight Hiking Backpack for day-and-a-half trips.
Small tip: pack the CLIF bars in a zip bag if you’re worried about crumbs melting in summer. 😊
Yes! I do the same. Also, if you’re using the Maelstrom 40L, the side pockets are perfect for a couple of bars and a small first-aid kit so you don’t have to dig into the main compartment.
Crumbs = ants. Learned that the hard way. 😂
Thanks for the tip, Maya — great idea about the zip bag. We tried to compare bar pros/cons in the ‘Trail-Ready Nutrition’ section but real-world packing hacks like this are super helpful for readers.
I bought the Maelstrom 40L Waterproof Lightweight Hiking Backpack after reading the buying guide and it’s been a champ. Lightweight, good compartments, and surprisingly roomy for overnight gear.
Only gripe: the rain cover could be a touch bigger. Otherwise — thumbs up from me!
Thanks for the real-world feedback, Olivia. Good to hear it performed well. We’ll flag the rain cover size in the buying guide so readers can consider adding a larger emergency liner if they expect heavy downpours.
I had the same issue — solved it by packing a cheap heavy-duty garbage bag as a liner. Not fancy but works in a pinch.
Cheap hack = forever solution. 😂
Okay, long post incoming because I actually tried one of the ‘100 Hikes of a Lifetime Scenic Trails Guide’ suggestions last month and it was gorgeous.
– The guide was spot-on about sunrise viewpoints.
– I used Cascade Mountain Tech Lightweight Aluminum Trekking Poles for a steep section and they saved my knees.
– Pro tip: the Lonely Planet Italian Phrasebook and Dictionary saved me when a local elderly farmer invited me for espresso — I could at least pretend I knew what he was saying 😂
Two less-obvious things the article could mention: trail etiquette with locals (ask before photographing people) and where to stash a small portable shake for hunger spikes (I used a scoop-and-go protein sachet).
That espresso invite sounds amazing. Which hike from the book did you do? I’m debating buying the guide but want to know if the trails are crowded.
Nice — gotta love unexpected local hospitality. Also: totally agree about asking before photos. People get weird about that.
Quick note: if you carry powdered shakes, put them in a small zip container — humidity ruins them quickly on multi-day trips.
Thanks for the detailed report, Liam — love the espresso story. We’ll expand the etiquette and on-trail etiquette tips in the next update. Also adding a note about storing shakes so they don’t spill in backpacks like the Maelstrom 40L.
I did the coastal ridge route from the guide — midweek was peaceful. Weekends will be busier but still manageable if you start early.
Loved the emphasis on ‘Talk to Locals’ — learning the stories behind a trail is the whole reason I hike sometimes. The inclusion of the Lonely Planet Italian Phrasebook and Dictionary was a smart call for travelers heading to Italy.
Quick Q: any phrasebook recommendations if I’m heading to non-Italian places? The article hinted at language prep but only named that one.
Great question, Grace. We listed the Italian phrasebook as an example tied to one of the sample itineraries, but for other regions we recommend getting a compact Lonely Planet phrasebook for the specific country (they have many). We’ll add a short subsection listing equivalents for Spanish, French, German, and a note about offline translation apps as backups.
I’ve used the Lonely Planet Spanish and it was handy. If you’re tech-savvy, download offline packs in Google Translate as a backup — saved me when phrasebooks weren’t enough.